Contents:
- 90% of People With Hair Donuts Use Them Incorrectly
- What Is a Hair Donut? Understanding the Tool
- Structure and Materials
- Hair Donut vs. Other Bun-Making Methods
- Basic Technique: How to Use a Hair Donut Step-by-Step
- Step One: Prep Your Hair
- Step Two: Create a High or Mid Ponytail
- Step Three: Thread the Donut
- Step Four: Distribute and Wrap Hair Around the Donut
- Step Five: Secure the Bun
- Optional: Smooth Flyaways
- Time Estimate and Difficulty Level
- Variations: Different Bun Styles Using Hair Donuts
- Sleek Ballet Bun
- Textured, Romantic Bun
- Double Donut Voluminous Bun
- Low Bun With Hair Donut
- Troubleshooting: Why Your Bun Isn’t Working
- Problem: Bun Is Lumpy or Misshapen
- Problem: Bun Slips or Falls Out During the Day
- Problem: Wrapping Hair Around the Donut Is Difficult
- Problem: Too Much Hair Hanging Down After Wrapping
- Problem: Flyaways and Loose Hairs
- Hair Donut Care and Sustainability
- Cleaning and Longevity
- Eco-Friendly Storage
- Hair Types and Donut Suitability
- Fine or Thin Hair
- Medium-Thickness Hair
- Thick or Very Curly Hair
- Cost Comparison: Hair Donuts vs. Alternatives
- FAQ Section
- Do hair donuts damage your hair?
- Can you use a hair donut on short hair?
- How tight should the base ponytail be for a hair donut bun?
- Can you sleep in a hair donut bun?
- What’s the difference between a hair donut and other bun makers?
- Master the Hair Donut and Transform Your Daily Styling
90% of People With Hair Donuts Use Them Incorrectly
The humble hair donut—also called a bun maker or bun shaper—is one of the most underutilised hair tools in existence. Millions of people own them, yet most create lumpy, unshapen buns or give up in frustration, assuming the tool doesn’t work. The truth is far simpler: technique matters. Learning how to use a hair donut properly transforms it into a 30-second solution for sleek, polished buns that rival salon results. A single hair donut costs £1-3, lasts years, and solves the problem of creating neat buns without damaging hair through tight elastics or complex styling. This guide walks through the exact method, troubleshoots common mistakes, and explores variations that work for different hair types and occasions.
What Is a Hair Donut? Understanding the Tool
Structure and Materials
A hair donut is a ring-shaped foam or fabric sponge approximately 5-8cm in diameter with a hole in the centre. The foam is typically soft, squishy, and breathable. Some donuts are solid fabric or velvet, others are mesh-lined sponge. All function similarly. The simplicity is the point—there are no moving parts, clips, or complicated mechanics. You simply wrap hair around the donut to create volume and shape. Quality varies: budget donuts from Poundland or Pound Plus cost 50p-£1 but may shed foam or lose shape quickly. Mid-range donuts from boots or supermarkets (£1.50-3) last 12-24 months with normal use. Premium donuts (£3-6) from beauty retailers use denser foam and last 2-3 years. For budget-conscious people, even disposable-seeming cheap donuts provide good value—a 50p donut used once weekly for a year is negligible cost.
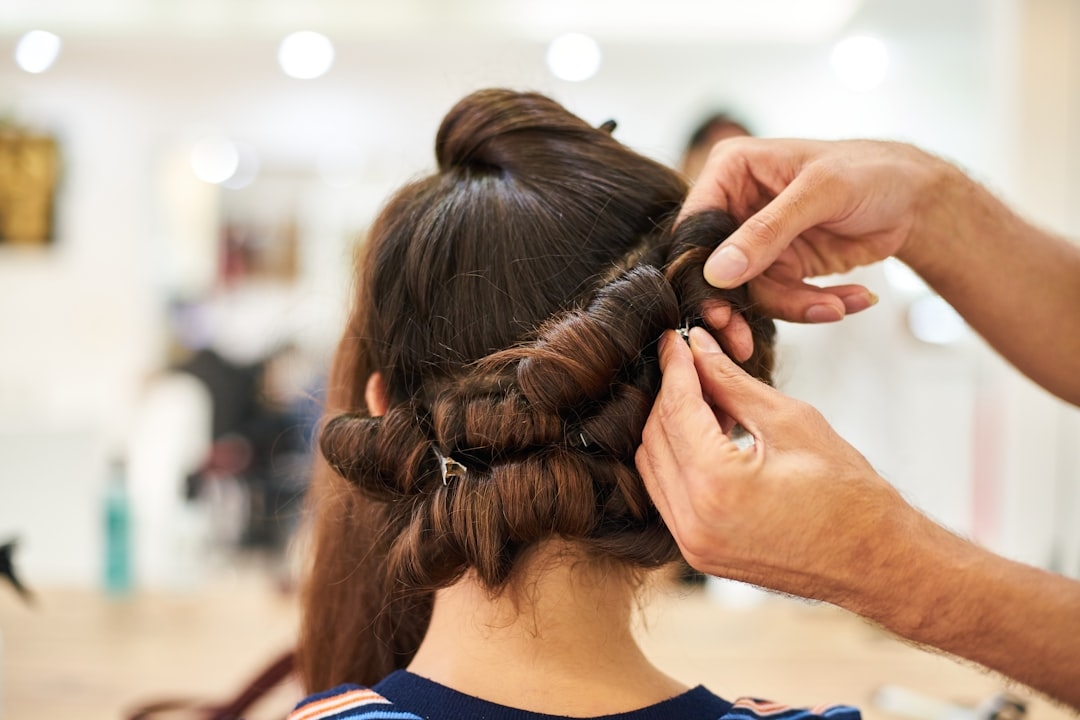
Hair Donut vs. Other Bun-Making Methods
The main alternatives are: creating buns with elastics alone (simple but can cause breakage), using hair sticks or forks (requires skill and works best on thicker hair), and professional blow-dry bun styling (£15-30 each time). Hair donuts occupy a middle ground: easier than sticks or forks, reusable unlike foam rollers, cheaper than professional styling, and less damaging than tight elastics. For people prioritising budget and ease, hair donuts are unmatched. For people wanting ultimate polish, professional styling occasionally combined with donut-created buns for everyday offers best results. Most people find donuts adequate for work, casual, and even semi-formal occasions once they’ve practiced the technique.
Basic Technique: How to Use a Hair Donut Step-by-Step
Step One: Prep Your Hair
Brush your hair thoroughly from roots to ends, removing all tangles. The base for your bun should be completely smooth. Tangles create lumps in the finished bun and make wrapping hair around the donut frustrating. For sleek buns, apply a light smoothing cream or serum (£3-8) to slightly tame flyaways. For textured buns, skip this—texture is intentional. Hair should be clean or from day-two/three after washing (not freshly washed, as clean hair is too slippery and the bun won’t hold). Completely dry hair holds buns better than damp hair, which relaxes and slips throughout the day.
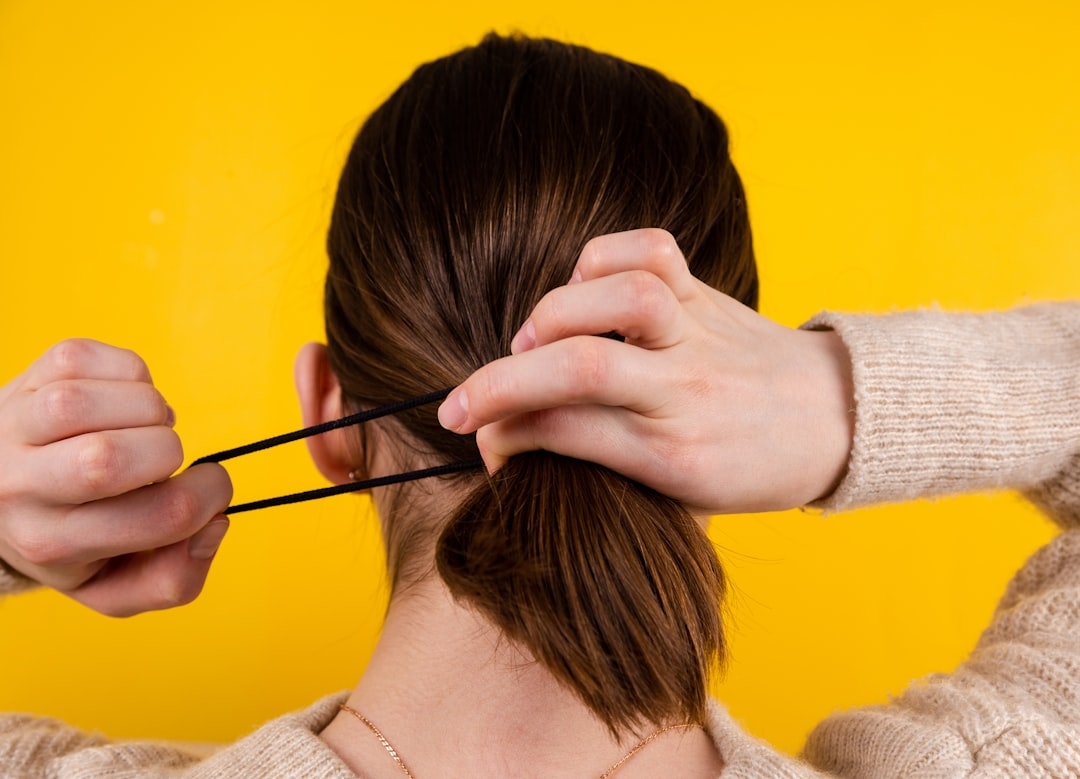
Step Two: Create a High or Mid Ponytail
Depending on where you want your bun (crown, middle-back, or low-back), create a corresponding ponytail. For a crown bun, create a high ponytail at the very top of your head. For a mid-back bun, create a ponytail at ear level. Use a smooth elastic—avoid crinkled or textured elastics which disturb the hair. An elastic that’s too tight restricts blood flow to the scalp; aim for snug but not painful. The ponytail should feel secure but not uncomfortable. This step takes 20-30 seconds.
Step Three: Thread the Donut
Slide the hair donut over the base of your ponytail, positioning it about 2-3cm from your scalp. Hold the donut in place with one hand whilst guiding the ponytail through the centre hole with the other. The donut should sit snugly against the hair base. At this point, you have a ponytail extending from the donut. This is the base. Everything that follows builds on this foundation.
Step Four: Distribute and Wrap Hair Around the Donut
This is where most people struggle. You must distribute the hair evenly around the donut before securing it. Take a section of hair (approximately 2-3cm wide) from the side of the ponytail. Flip this section over the donut (wrapping it around the circumference). The hair now covers part of the donut’s surface. Repeat with another section, slightly overlapping with the previous section, continuing around the entire donut. By the time you’ve gone around once, the entire donut should be covered in hair, with hair ends hanging down on the other side. This wrapping process takes 15-20 seconds with practice.
Step Five: Secure the Bun
Once all hair is wrapped around the donut, use bobby pins to secure the ends of the hair to the body of the bun. You need only 2-3 bobby pins strategically placed. Push the pins through the wrapped hair and into the body of the bun, ensuring they’re not visible from above. This secures the bun and prevents it from unravelling. An alternative (and simpler for many people) is using a second, smaller elastic to tie the hair ends together underneath the bun where they’re hidden. This takes 10-15 seconds. Your bun is now complete—sleek, shaped, and secure.
Optional: Smooth Flyaways
Use a comb or soft brush to smooth any loose hairs. Apply a tiny amount of smoothing serum or hair gel (£2-6) to a fine-tooth comb and gently smooth the edges. This is purely cosmetic and not necessary, but it creates a more polished appearance. Skip this step if you’re going for a more relaxed, lived-in bun aesthetic.
Time Estimate and Difficulty Level
The complete process—from untangled hair to finished bun—takes approximately 45-60 seconds once you’re experienced. Your first attempt may take 2-3 minutes as you figure out the wrapping motion and bobby pin placement. By your fifth attempt, you’ll develop muscle memory and do it without thinking. The difficulty is low—there’s nothing particularly technical about hair donuts. The main learning curve is distributing hair evenly around the donut. Once you’ve done this three or four times, it becomes intuitive.
Variations: Different Bun Styles Using Hair Donuts
Sleek Ballet Bun
For a tight, polished ballet-style bun, brush hair very smooth, use no volumising products, and wrap the hair tightly around the donut with minimal loose sections. Use bobby pins liberally to secure every wrapped section. The result is a compact, neat bun with no bumps or texture. This style suits professional environments or formal events.
Textured, Romantic Bun
For a looser, more textured bun, use damp or slightly crimped hair. Create the ponytail, then deliberately leave some sections unwrapped or loosely wrapped. Allow some hair to stick out artfully from the bun. This intentional messiness is highly fashionable for casual, creative, or artistic contexts. It’s also forgiving—exact precision doesn’t matter.
Double Donut Voluminous Bun
For maximum volume, use two hair donuts stacked or positioned side-by-side. Create a very high ponytail, then thread both donuts through simultaneously. Wrap hair around both, creating a dramatically large, statement-making bun. This works best on thick or very long hair and suits special occasions or fashion-focused styling.
Low Bun With Hair Donut
Create a low ponytail at the nape of your neck, then follow the standard technique. This creates a sophisticated, professional-looking bun at the base of your head. It’s comfortable for sitting (unlike high buns which press into chair backs) and suits formal or professional settings.
Troubleshooting: Why Your Bun Isn’t Working
Problem: Bun Is Lumpy or Misshapen
Cause: Hair not distributed evenly around the donut. Some sections have more hair than others, creating bumps. Solution: Before securing with bobby pins, examine the bun from all angles. Are there obvious thick sections and thin sections? Redistribute by pulling from thick areas and filling in thin areas. It takes an extra 15-20 seconds but dramatically improves appearance.
Problem: Bun Slips or Falls Out During the Day
Cause: Elastic too loose, or hair too clean and slippery. Solution: Use a tighter elastic when creating the base ponytail. Add bobby pins (3-4 instead of 2) to secure the wrapped hair. If hair is very smooth and slippery, apply a light texturising spray (£3-6) to the ponytail before wrapping to add grip.
Problem: Wrapping Hair Around the Donut Is Difficult
Cause: Taking too-large sections or not flipping hair properly over the donut. Solution: Use smaller sections (about 1-2cm wide). Flip each section deliberately over the donut so it wraps around the circumference. If your hair is very thick, you may need to take even smaller sections and make multiple passes around the donut.
Problem: Too Much Hair Hanging Down After Wrapping
Cause: Hair is very long and the ponytail is very thick—more than the donut can comfortably wrap. Solution: Use a larger donut (8-10cm instead of 5-6cm). Alternatively, braid the hair that wraps around the donut instead of leaving it straight—braiding compacts the hair and looks intentional. Or, create two buns using one donut each instead of one large bun.
Problem: Flyaways and Loose Hairs
Cause: Inevitable with any bun style, especially if hair is fine or naturally textured. Solution: Use hairspray after securing the bun (£3-5). A light mist over the finished bun holds loose hairs in place without the visible shellac of heavy hairspray. For fine hair, apply hairspray to a comb and smooth the edges for better control.
Hair Donut Care and Sustainability
Cleaning and Longevity
Hair donuts accumulate hair, dust, and product residue. Once weekly, remove trapped hairs by hand or with a sticky lint roller. Once monthly, wash the donut by hand with warm water and gentle shampoo, then air-dry thoroughly before using again. Proper care extends donut life to 2-3 years. This reusability makes donuts genuinely eco-friendly compared to disposable bun formers or frequent professional styling services. A £2 donut used 2-3 times weekly for 2 years costs less than £1 per year, and eliminates the need for single-use hair products.
Eco-Friendly Storage
Store donuts in a drawer or small box rather than loose in a bathroom where they accumulate dust. Some people store multiple donuts in a repurposed fabric container. This prevents the need for plastic packaging and makes donuts last longer.
Hair Types and Donut Suitability
Fine or Thin Hair
Fine hair wraps around donuts easily and creates neat buns with minimal bulk. However, fine hair may slip within the donut, causing the bun to loosen throughout the day. Solutions: use slightly smaller donuts (which hold fine hair better), add hairspray for grip, or use a smaller elastic and bobby pins more liberally (4-5 pins instead of 2-3).
Medium-Thickness Hair
The sweet spot for hair donuts. Medium hair holds buns securely, wraps evenly around donuts, and creates polished results with minimal effort. This hair type requires no special adjustments.
Thick or Very Curly Hair
Thick hair creates fuller, more voluminous buns. The donut may be less visible because so much hair covers it. Very curly hair is harder to wrap smoothly unless you blow-dry it straight first. For curly hair, creating textured buns (deliberately loose and undone-looking) often looks better than pursuing perfect sleekness.
Cost Comparison: Hair Donuts vs. Alternatives
- Hair donut (one-time purchase): £1-6. Lasts 1-3 years. Cost per use (assuming 2 uses weekly for 2 years): approximately 1-2p per use.
- Professional bun styling: £15-30 per appointment. Weekly appointments cost £780-1560 yearly.
- Hair elastics and bobby pins: £5-10 total upfront. Require replacement every few months (£2-3). Annual cost approximately £10-15 plus effort required.
- Hair sticks or forks: £3-8 upfront. Require skill and practice. Useful but only for certain hair types.
Hair donuts are the most cost-effective solution for budget-conscious people wanting decent buns regularly.
FAQ Section
Do hair donuts damage your hair?
No. Hair donuts are gentler than tight elastics alone because they distribute pressure evenly over a larger area. The foam doesn’t pinch or crease hair. Used properly, donuts cause no damage and may actually reduce damage compared to tight elastic-only buns.
Can you use a hair donut on short hair?
Donut buns require hair long enough to wrap around the donut. Generally, hair should be at least shoulder-length. Very short hair (above shoulders) cannot create donut buns. However, pixie cuts or crew cuts aren’t bun-appropriate regardless of the method.
How tight should the base ponytail be for a hair donut bun?
Snug enough that the bun feels secure and won’t slip, but not so tight that it causes headache or scalp discomfort. You should be able to fit one finger comfortably between the elastic and your scalp. Too-tight elastics restrict blood flow and can cause hair loss or tension headaches.
Can you sleep in a hair donut bun?
Sleeping in buns—donut or otherwise—causes creasing and breakage. Remove the bun before bed. If you want waves or texture, sleep in the bun and brush out in the morning, but expect less precise waves with a donut than with other methods.
What’s the difference between a hair donut and other bun makers?
Bun makers include various tools: donuts (foam rings), bun wraps (flat fabric strips), and even heated bun shapers. Donuts are the simplest and most affordable. Flat bun wraps work similarly but cover more surface area. Heated shapers require electricity. For most people, basic foam donuts are the best choice.
Master the Hair Donut and Transform Your Daily Styling
Using a hair donut is genuinely simple once you understand the core technique: pony, donut, distribute, wrap, secure. In 2026, with donuts available at virtually every UK chemist and supermarket for under £3, there’s no reason not to try one. If you currently struggle with creating neat buns or rely on professional styling, a donut solves that problem for pennies. Start with a budget donut, practice the wrapping motion 3-4 times, then enjoy years of quick, effortless buns. Most people discover they actually prefer the simplicity and reliability of donut buns to more complicated methods. Your perfectly polished bun is literally 60 seconds away once you’ve mastered the technique.